Getting started
The setup wizard creates your property, rooms and base rate in one go; the setup checklist on the Today page walks you through the rest.
New accounts start with a short setup wizard, followed by a checklist that shows what is left to do. Work through both and your property is ready for real guests within your 14-day trial.
The setup wizard
The first time the owner of a new account signs in, BaanHost opens the wizard. It only appears while the account has no property yet. You can tap “Maybe later” and start it again later from the checklist.
- Property type: hotel, guest house, villa, apartment, hostel or resort. Villas and apartments are set up as vacation rentals.
- Name and country: the name of your property, its country (this switches on local rules, such as TM30 in Thailand) and the check-in and check-out times (14:00 and 12:00 unless you change them).
- Rooms: how many rooms you have and how they are numbered: from a starting number (101, 102…), a prefix plus a number (V1, V2…) or a name for each room, which suits villas. Give the room type a name and enter the base rate per night.
- Sample data (optional): also creates a separate sample property to practise on. See Sample data.
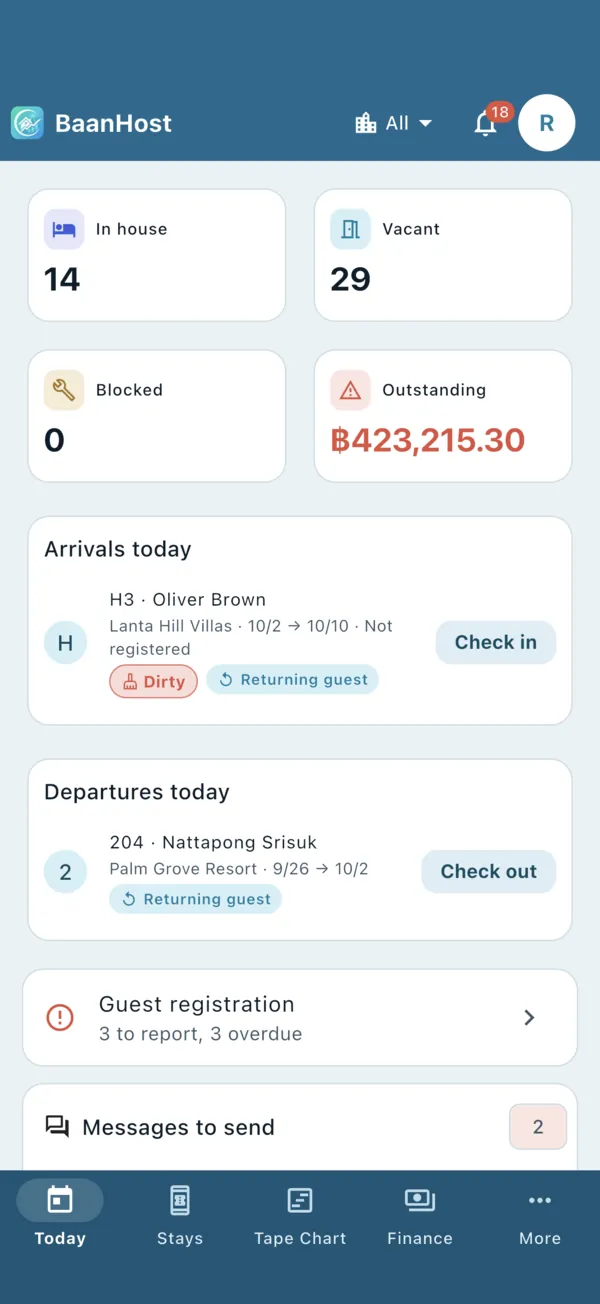
When you finish, BaanHost creates the property, the room type, the rooms and the rate, then opens the Today page. The first checklist items are already ticked.
The setup checklist
Owners and managers see the checklist at the top of the Today page, with a progress bar. Tap an item to go to the screen where it is done. Items tick themselves when the data is in place, and you can also mark an item as done or skip it.
- Business details: name, country, currency and time zone.
- Add your property: at least one community. See Communities, units and Excel import.
- Room types and units: at least one active unit, entered by hand or imported from Excel.
- Rates: a base rate or a rate rule. See Rates and the rate grid.
- Import existing bookings: or mark it as “No existing bookings”. Do this before connecting channels. See Import your existing bookings.
- Payment methods: bank transfer, PromptPay or a payment link. See Payment methods and the guest payment page.
- Invite your team: or mark it as “It's just me”. Start with the Roles overview, give each person a role, and fine-tune one person's permissions if needed. See Staff, roles and permissions.
- First booking and check-in. See Check-in, passport scan and chip.
The folded advanced part holds the next steps: connecting Airbnb and Booking.com, the Direct booking link (ticks itself once your direct booking page is live), automatic reminders and message templates, invoice details for receipts and tax invoices, TM30 (Thailand only), month locking and push notifications on your phone.